A fire escape ladder is a vital piece of equipment if you have to get out of a burning building. For homeowners, the presence of a fire escape ladder can mean the difference between life or death for your family.
In this article we provide instructions on how to make your own fire escape ladder. So read on!
Why Build Your Own Fire Escape Ladder?
Perhaps the flames or smoke is too great to get downstairs inside the house, or you just want to get out as fast as you can without confusion as to where to go. Knowing where and how to use a fire escape ladder is key to escaping these fire emergencies.
Homes with old fireplaces, wiring, and roofs made of wood shingles that get excessive heat in the summer are prime spots for home fires. Having a fire escape ladder, either a DIY fire escape ladder or a purchased premade one is essential to ensure your family’s safety. You could use both a fixed escape ladder and one (or more) throw escape ladders as a backup to be extra prepared for a fire emergency.
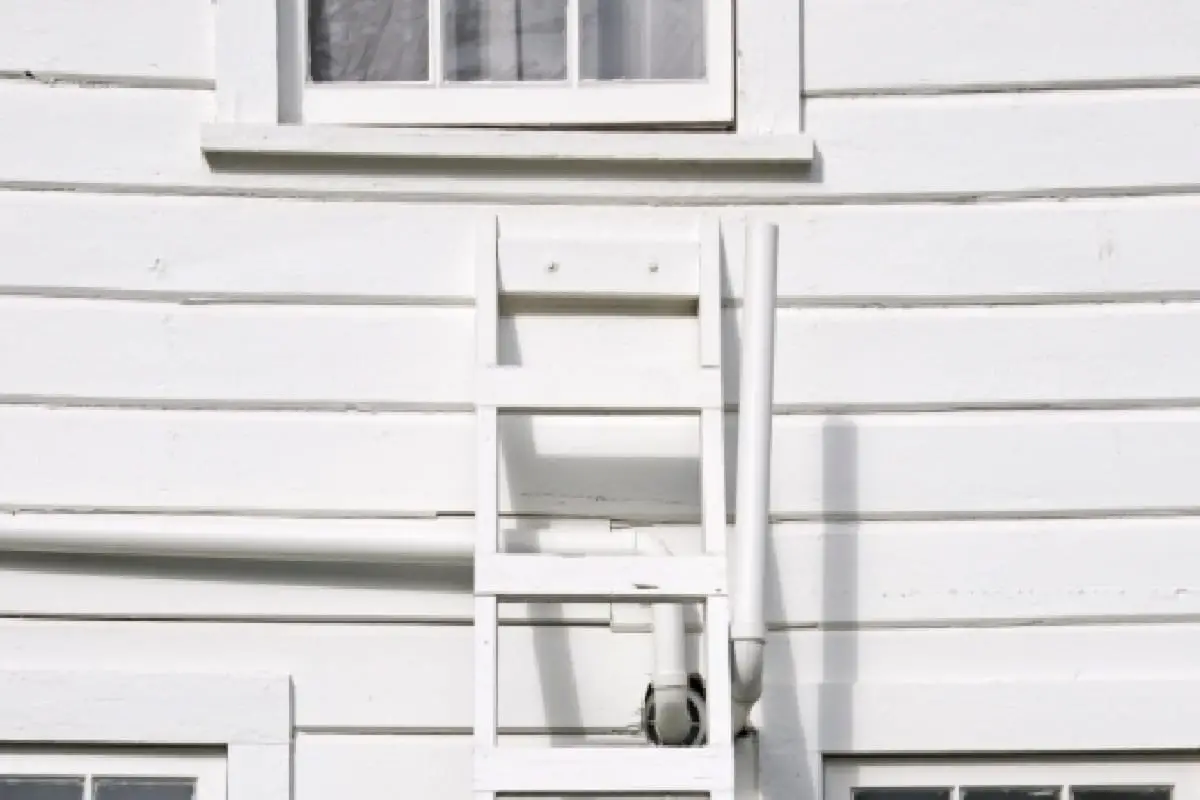
Usually, a permanent fire escape ladder is connected directly to the side of a building and goes down to the ground or a lower roof. In cases where a window is available, this could serve as a viable solution to escape.
Fire escape ladders are ideal for buildings with a maximum of 5 floors, and most homes and apartment complexes fall into this category. The top floor ladders can lead to lower floor roofs, windows, or balconies. Multiple ladders can be staggered all the way down the building.
A DIY fire escape ladder is great to match the fire escape ladder to the architecture of the home. If the home’s architecture or aesthetic value is too great for a fixed ladder, you could make your own temporary rope or cable ladder.
A DIY fire escape ladder is also much cheaper than building a fire escape stairway. You will use fewer materials, less time, and it will not stand out as much which can help maintain the house’s aesthetic appeal. Most homes only have a small number of people inside, as opposed to an apartment building. This means a fire escape ladder will be able to do the job of getting all the people to safety. If your home has more than 10 people inside, consider adding multiple ladders and emphasize other escape routes.
If you have a young family (not elderly), fire escape ladders work well, especially for kids and teenagers as they can easily climb down. Fire escape ladders also take up very little space and can be made using the most rudimentary design to get the job done.
What A Good Fire Escape Ladder Should Do
A good fire escape ladder should have the following characteristics:
- Tangle free
- Easy to use
- Accessible
- Balcony access
- Flame and heat resistance.
- Reusable – but only for practice prior to a fire!
- Tested by an independent certification organization.
- Fast to deploy, portable, and lightweight.
- Requires no setup or tools for use, already made to be used quickly.
Features of a Fire Escape Ladder
There are key parts to a fire escape ladder, which include:
- Side braces/side rail (to hold the steps and to grip).
- Top hooks (to latch onto the window sill for temporary ladders) that won’t slip off the window frame.
- A wide ground brace (at the end of the ladder for optional ground stability).
- Sections bolted into the house siding and lower roof (for permanent ladders).
- Safety cage (optional).
- Fall arrest system (optional).
- Balcony access.
- Retractable or folding.
- Heavy-duty carabiners (for cable ladders).
- Safety belt (optional)
- Storage bag (colored red, yellow, or other bright color and is labeled) with a binding belt.
- Must be able to support a minimum of 1 adult and up to ~1000 lbs.
- Standoffs included (wood or steel) – These are protrusions that hold the escape ladder away from the wall of the house that keeps the ladder steady and away from heated house siding.
- Wide anti-slip / anti-skid, flat or round rungs (for children and older adults).
DIY Fire Escape Ladders
There are three types of DIY fire escape ladders:
- Permanent (fixed) fire escape ladder.
- Retractable (folding) fire escape ladder.
- Rope / Cable (Roll up, storable).
The temporary throw fire escape ladder made of rope, cable, or wire makes the most sense in terms of home aesthetics but could cause confusion or delays during a fire emergency when deploying it.
Dimensions of DIY Fire Escape Ladders
To be navigable during a fire emergency, a fire escape ladder needs to fit certain dimensions. The rungs need to be wide enough, the side brace needs to be both strong and easy to grip. The top step needs to be close enough to the window sill that people of different sizes can easily step onto it. The ladder also needs to be able to carry a large amount of weight, due to multiple people being on it at the same time.
Length of the Ladder
The length of the ladder is determined by the height of the roof or window you are descending from. This is determined by the height of the window from the ground or lower floor roof.
Height of the Window
A regular 2 story house will be around 20 feet tall (a minimum of 16 feet) and have 9-foot ceilings. Some 2 story homes can reach as high as 30 feet if they have steep roofs and high ceilings. The total distance from the ground to the 2nd floor will be around 10 feet. Standard windows of a home usually start 18 inches from the ceiling.
Window Height Regulations
The International Residential Code (IRC) requires the bottom of openings of useable windows to be a minimum of 24 inches above the interior floor if they are more than 6 feet above the ground outside the window (so, the second and third-floor windows). The purpose of this is to prevent small children from falling out of the window. Ground floor windows are limited to a maximum of 44 inches from the floor so that they are accessible as a fire escape.
Width of the Rungs
The rungs of the ladder need to be wide enough to fit two adult feet or two adult hands side by side. Add additional space for maneuverability because you do not want to make them too small or this could put an escape at risk by slowing people down.
Materials Needed for a DIY Fire Escape Ladder
- Nuts
- Bolts
- Washers
- Screws (including masonry fixing screw bolts or anchor screws).
- Wood
- Aluminum
- Galvanized steel
- Stainless steel
- Steel pieces for rungs and side braces.
- Heavy steel cable or wire to connect the rungs.
- Wood or metal dowel or pipe
- Heavy chain
- Steel carabiners
- Steel ladder hooks
- Cable clamps
- No-slip tape
Be wary of using nylon rope, which can be susceptible to melting at high temperatures. Choose components that are heat and flame-resistant.
Recommended Steel Carabiners
Fusion Tacoma D Shaped Triple Lock Alloy Steel Carabiner

Tools Needed
- Screwdrivers
- Power saw with metal cutting blades.
- Cable cutter
- Measuring tape
- Level
- Hand saw or hacksaw if needed.
- Power drill with a hammer function (or rotary hammer drill).
- Drill bits (including masonry bits).
- Measuring tape
- Marking pencil
- Level
You will also need a clean and open workspace (garage, barn, workshop, etc.) to complete the project. Make sure to wear safety glasses when you cut, hammer, and drill the pieces.
A “Fixed Ladder” Type Fire Escape Ladder
You can use wood side braces, rungs, and bolt the angled ladder to the side of the house and roof below. You can also attach it to the side of the house with braces that extend the ladder to a certain distance off the side of the house. This makes the ladder vertical as opposed to angled.
The top of the ladder will meet the house siding just below the bottom window sill. Make sure the window is easily opened from the inside and no paint is stuck in the cracks that will prevent this.
A wooden fire escape ladder is only made for 1 use during a fire and will likely be damaged in some way by the time the fire is put out. However, the point is to make it a path to escape, so once that is accomplished, the fire escape ladder will have served its intended purpose!
Steps To Make a Fixed Fire Escape Ladder
Step 1. Measure the height from the ground to the lower window sill you plan on exiting from. Or, measure from the lower roof to the lower window sill.
Step 2. Cut the side braces from wood or metal.
Step 3. Measure and cut the rungs to fit 2 adult feet or 2 adult hands side by side plus a little extra space.
Step 4. Attach the rungs to the side braces by drilling holes in the side and sliding through and fixing in place with bolts. Or, in the case of wood rungs and side braces, attach by bolts, screws, or nails.
Step 6. Add additional anti-slip tape or make cut grooves on the rungs.
Step 5. Cut standoffs to attach to the ladder to the side of the house.
Step 6. Attach the standoffs to the ladder and attach the ladder to the side of the house with bolts.
Step 7. Bolt the top of the ladder just below the window sill while leaning out the window.
Step 8. Test the ladder by climbing several rungs and make sure it can hold your weight without pulling away from the house.
A folding-type fire escape ladder can be made by adding metal or wood hinges partway down the side braces and a latch on the top below the window sill to hold it in place. A fixed fire escape ladder, be it folding or not can be left permanently attached to the side of the house.
Steps To Make a Rope / Cable Fire Escape Ladder
A rope or cable fire escape ladder can be made of any type of rope (preferably with a fire-resistant coating) or metal cable. It is best to use steel cable over any type of rope, such as nylon rope because it will withstand the flames and heat of a house fire.
Step 1. Measure the height from the ground to the lower window sill (see step 1 above). Add extra distance to allow for attaching to a top hook for the sill.
Step 2. Cut two lengths of cable for the side bracing.
Step 3. Cut the rungs from the wood dowel, metal pipe, or steel cable to fit 2 adult feet or two adult hands side by side. Add extra space for maneuverability.
Step 4. Attach the rungs to the steel cable with cable clamps.
Step 5. Attach the steel cable to the top ladder hooks or carabiners using cable clamps.
Step 6. Add standouts to the ladder using cut metal pieces (optional).
Step 7. Test the ladder by hooking in place and climbing several rungs from the ground floor to make sure it can handle your weight.
Attaching the Ladder to a Brick Wall
Drilling and securing the ladder to a brick wall is not hard to do and will keep the ladder secure. Use a masonry drill bit in your power drill or rotary hammer drill. Drill into the brick and screw in the masonry fixing screw bolts or anchor screws to hold the ladder side rail or standouts in place.
Make sure to line the ladder up vertically using a level. Use a wrench to tighten the nuts and bolts down. Give the ladder a good tug to make sure it is firmly in place.
Attaching the Ladder to Wood Siding
Drilling and securing your fire escape ladder to wood siding is not difficult. Line up the ladder vertically using a level. Have another person help you hold the ladder while you drill holes in the railing or standouts. Use your power drill to screw in the bolts. Make sure to use a large enough wood screw or bolts for enough strength to hold the ladder against the siding.
Extra Precautions
In your initial design, take into account how easy it is to navigate the ladder once you are on it and how many people may need to use it at once. Make sure it fits the window and will not break the window ledge or sill, or deck balcony when carrying a person. Consider fortifying the window sill or deck to make sure this does not happen.
Make sure to test each component and rung of the fire escape ladder before considering the project finished. Especially make sure the rungs are secure so they do not fail under your body weight.
Make sure no bolts, cable connectors, hooks, or nails are loose. Add two cable clamps where one is needed just in case it fails. Cut groves, add screws, or no-slip grip tape to the rungs to make sure they are anti-slip.
Consider also adding plastic, metal, or fabric sleeves over the side cables or chains for extra grip. Also, make sure to test the entire ladder and have a plan to use it in case of a fire emergency.
Final Thoughts…
You can make your own custom fire escape ladder to fit the aesthetics of your home with little cost. However, if you want to avoid the hassle, consider buying a new already made fire escape ladder. Remember that no fire escape ladder, whether DIY or premade is 100% safe to use in a fire emergency, but may simply be required. Regardless, having more than one fire escape route is always best.